Create a simple Virtual Stage configuration
Create a simple virtual stage configuration#
In this tutorial you will learn:
- How to create a simple virtual stage MiddleVR configuration
- Use the MiddleVR package in Unity
Requirements#
- Vive controllers
Creating a virtual stage configuration#
-
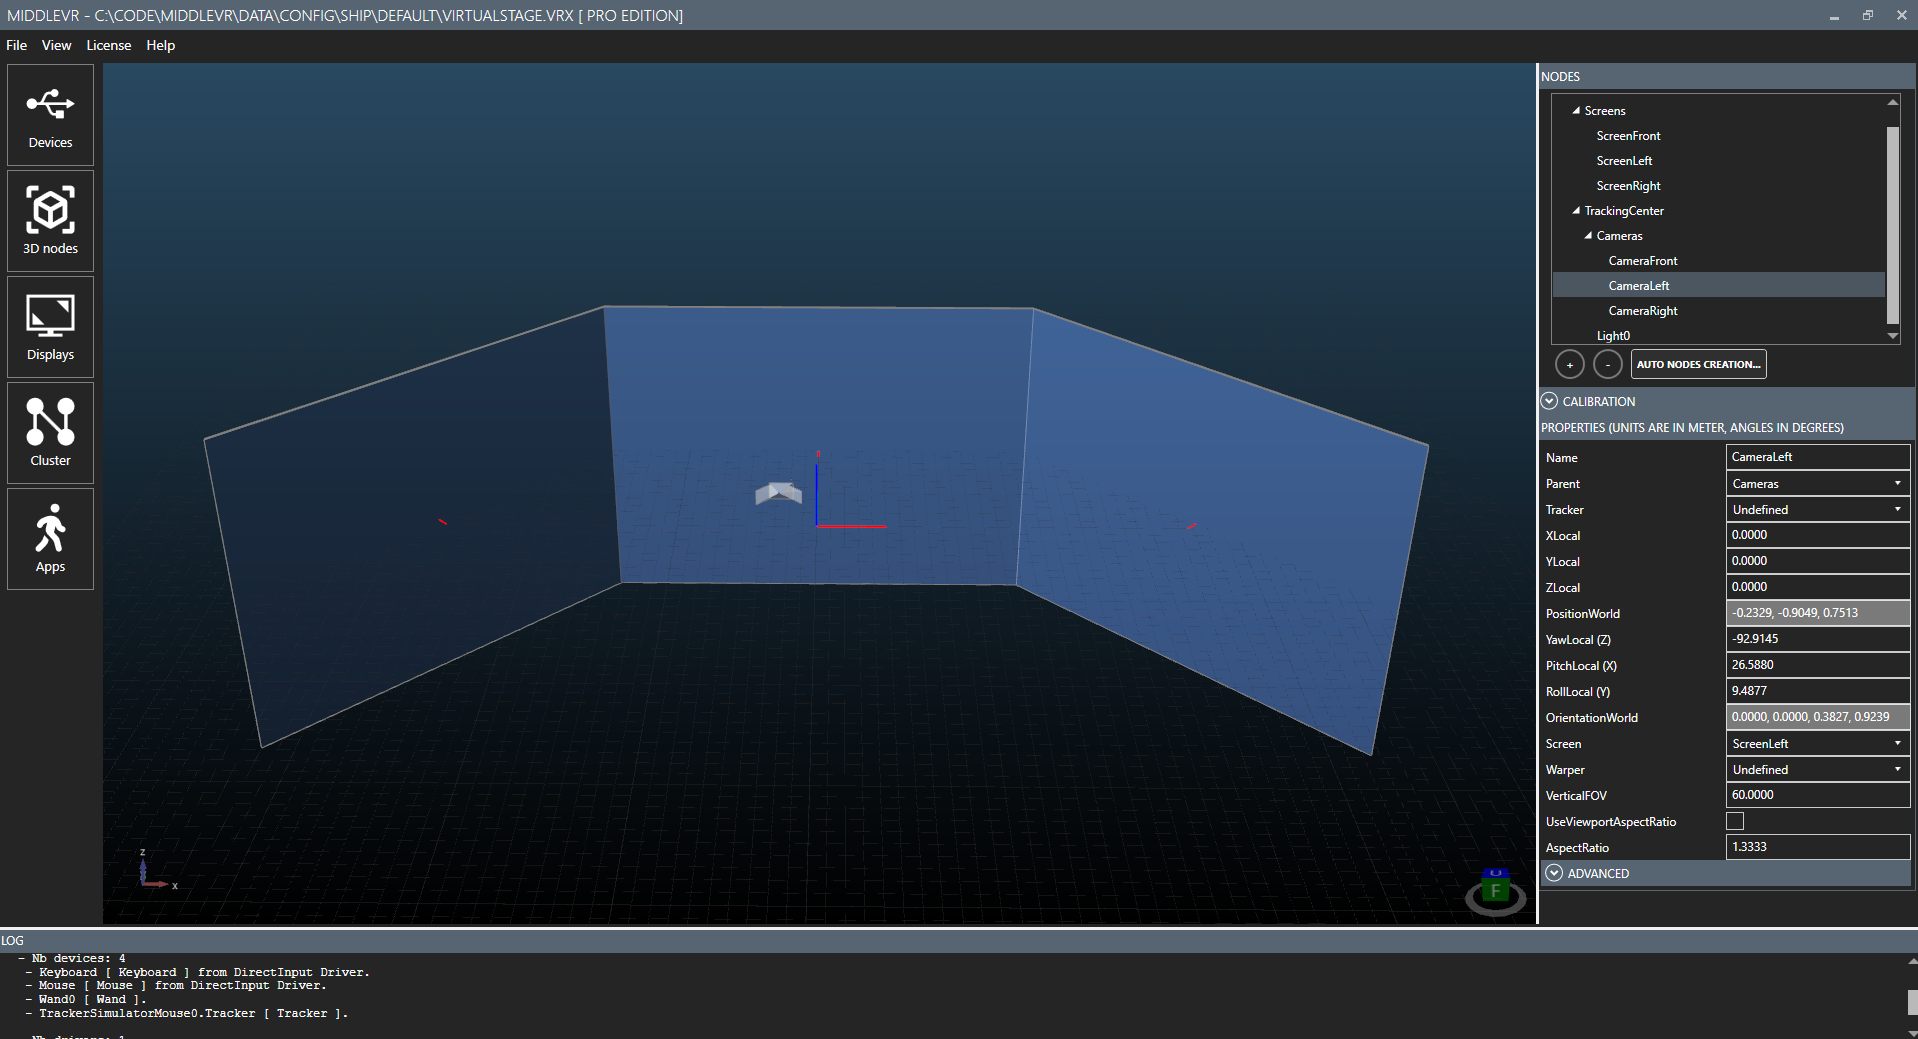
Open MiddleVR Config
-
Open the default configuration "VirtualStage.vrx" which has three screens defined:
-
In 3D Nodes modify the position/orientation/size of the screens. Make sure that the position, orientation and size of the screens absolutely match reality.
-
Change X/Y/Z of the TrackingCenter to match the center of your Vive trackers
-
Save the configuration file anywhere
-
Go in Apps. Your new configuration should automatically be added in the Configurations list.
-
If you followed the "Run the demo" tutorial, you should already have Demo_Outpost.exe added in the Apps list.
-
Make sure Demo_Outpost and your configuration are correctly selected and press "Run":
- Move your Vive controller: The perspective adapts to the new controller position
Testing in Unity#
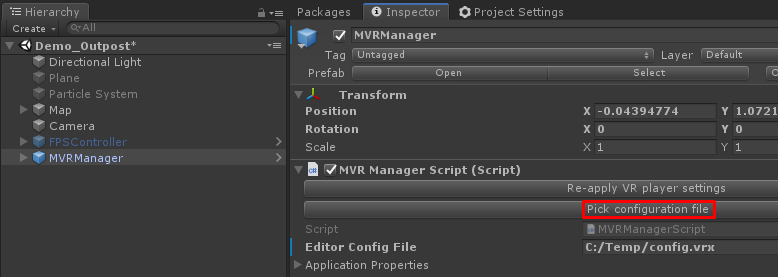
Start by importing the MiddleVR Unity package in your Unity project as seen in a previous tutorial.
Then pick your configuration file by clicking on "Pick Configuration File" on the MVRManager Editor:
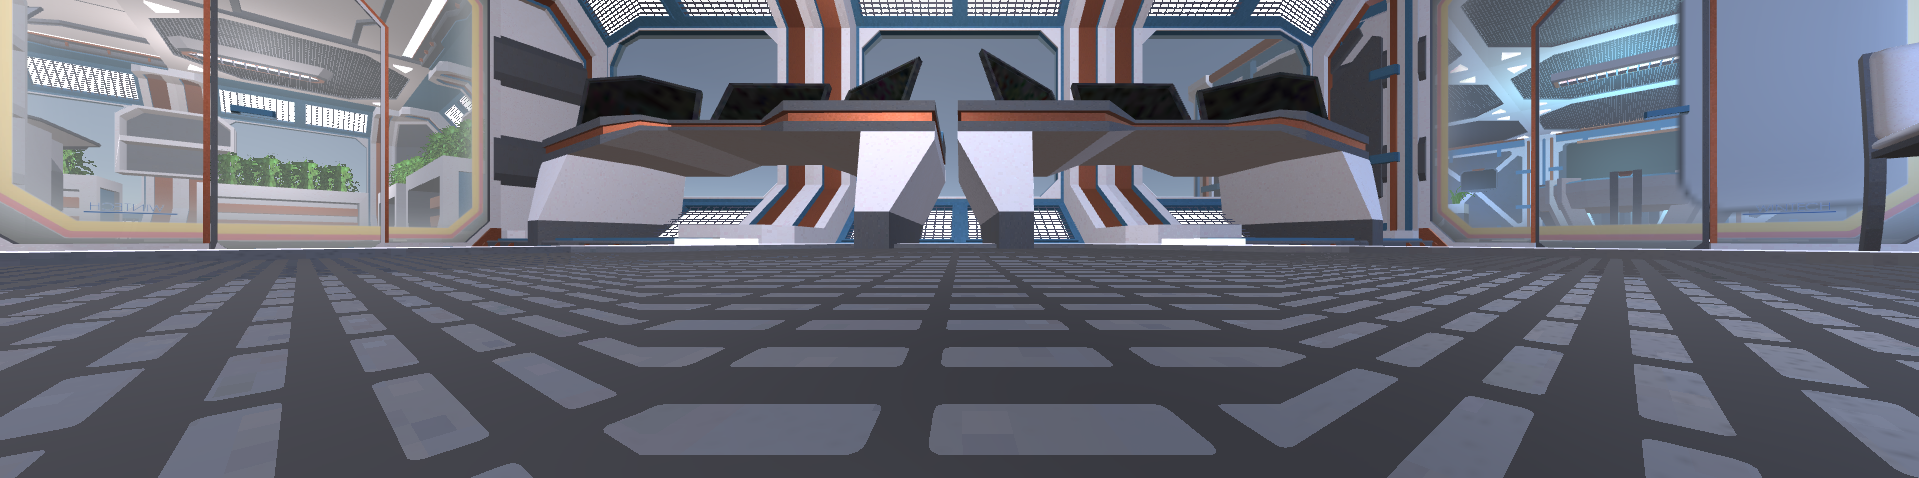
Enable "Preview Window" on the MVRManager and Press Play!
A new window should appear:
You can exit by pressing Esc or pressing stop in Unity.
Adding more screens#
You can easily add more screens:
-
Add screens and set the correct position/orientation/size
-
Add one camera per screen, assign screen to camera
-
Add one viewport per camera, assign camera to viewport
Change tracking device#
-
Go in the MiddleVR Config Devices tabs, remove OpenVR-SteamVR driver
Dynamic light#
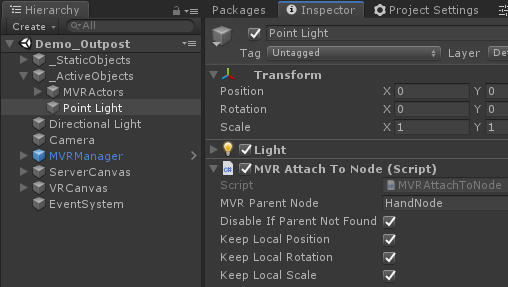
The configuration has a 'Light0' node that can be used to move a virtual light in the application.
For example in the Demo outpost project there is
a point light that automatically attaches to this 'Light0' node by using a
MVRAttachToNode script:
Have fun!#
Now you can go back in the configuration tool and add cameras, change the viewports layout. Save the configuration and simply press play again in Unity. MiddleVR will automatically reconfigure your application to match your configuration.