Setup a cluster system#
Overview#
The process of setting up a cluster system with MiddleVR is the following:
- Prepare all cluster nodes:
- Install MiddleVR on all cluster nodes. This will install the MiddleVR Daemon and automatically open required firewall ports
- Make sure your applications and configurations are accessible by all cluster nodes
- Either by copying them on each cluster node
- Or creating a shared folder connected on a network drive
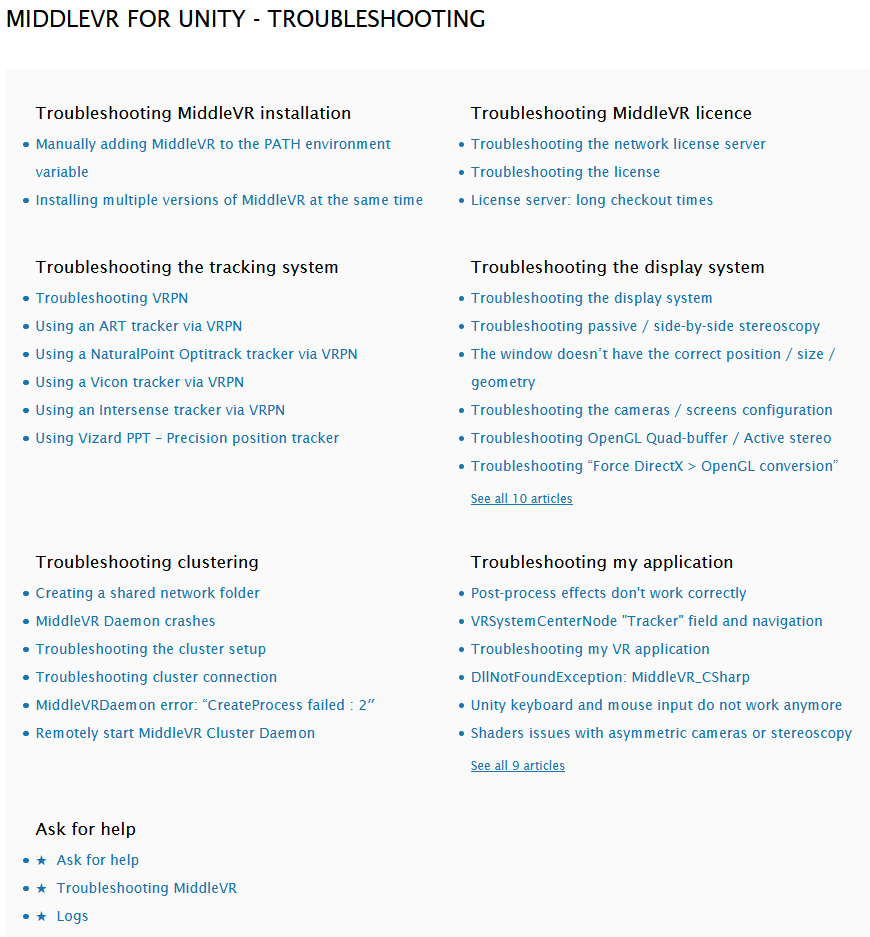
Knowledge base#
Our knowledge base contains useful information gathered from our extensive experience with cluster setups:
Prepare all cluster nodes#
Install MiddleVR#
Install MiddleVR on all machines.
Silent install#
If you are a system administrator and want to run a silent install, possibly remotely, see Silent install
Interactive install#
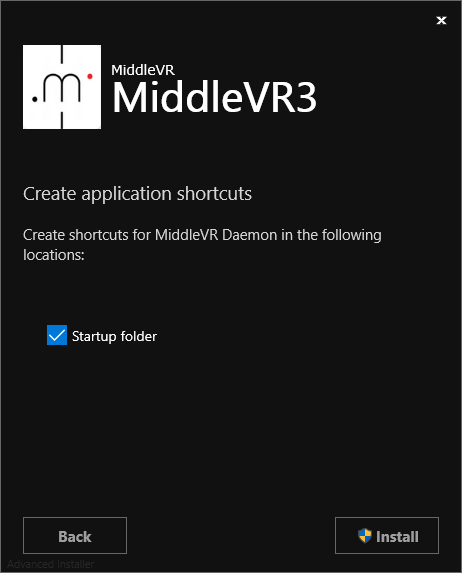
At the end of the setup, make sure that "Startup folder" is checked. This will make sure the MiddleVR Daemon is automatically run at startup of windows.
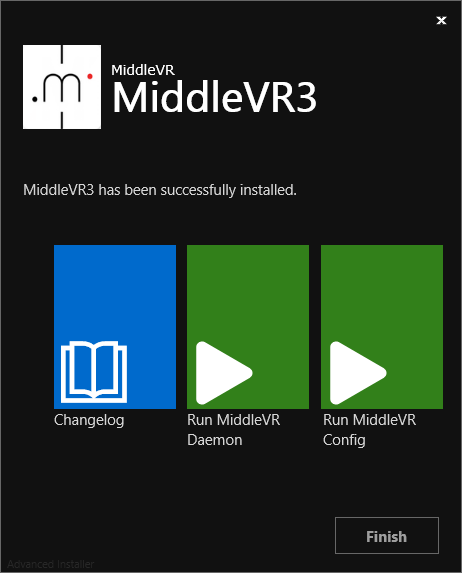
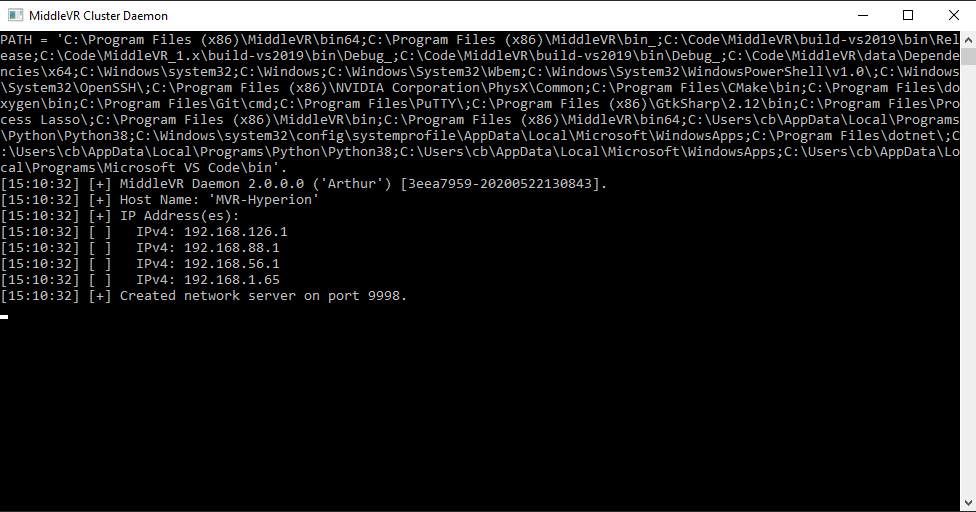
Clicking on "Run Daemon" will start MiddleVR Daemon.
Make your application accessible to all cluster nodes#
Make sure your applications and configurations are accessible from all the computers of the cluster. The most common way is to use a Shared Folder. If you want to speed-up the loading of your apps, you might prefer doing a Local Copy.
Shared folder#
This technique makes updating apps easier because you only have to update in on the shared folder.
- Create a shared folder accessible from all cluster nodes (see section "Creating a shared folder").
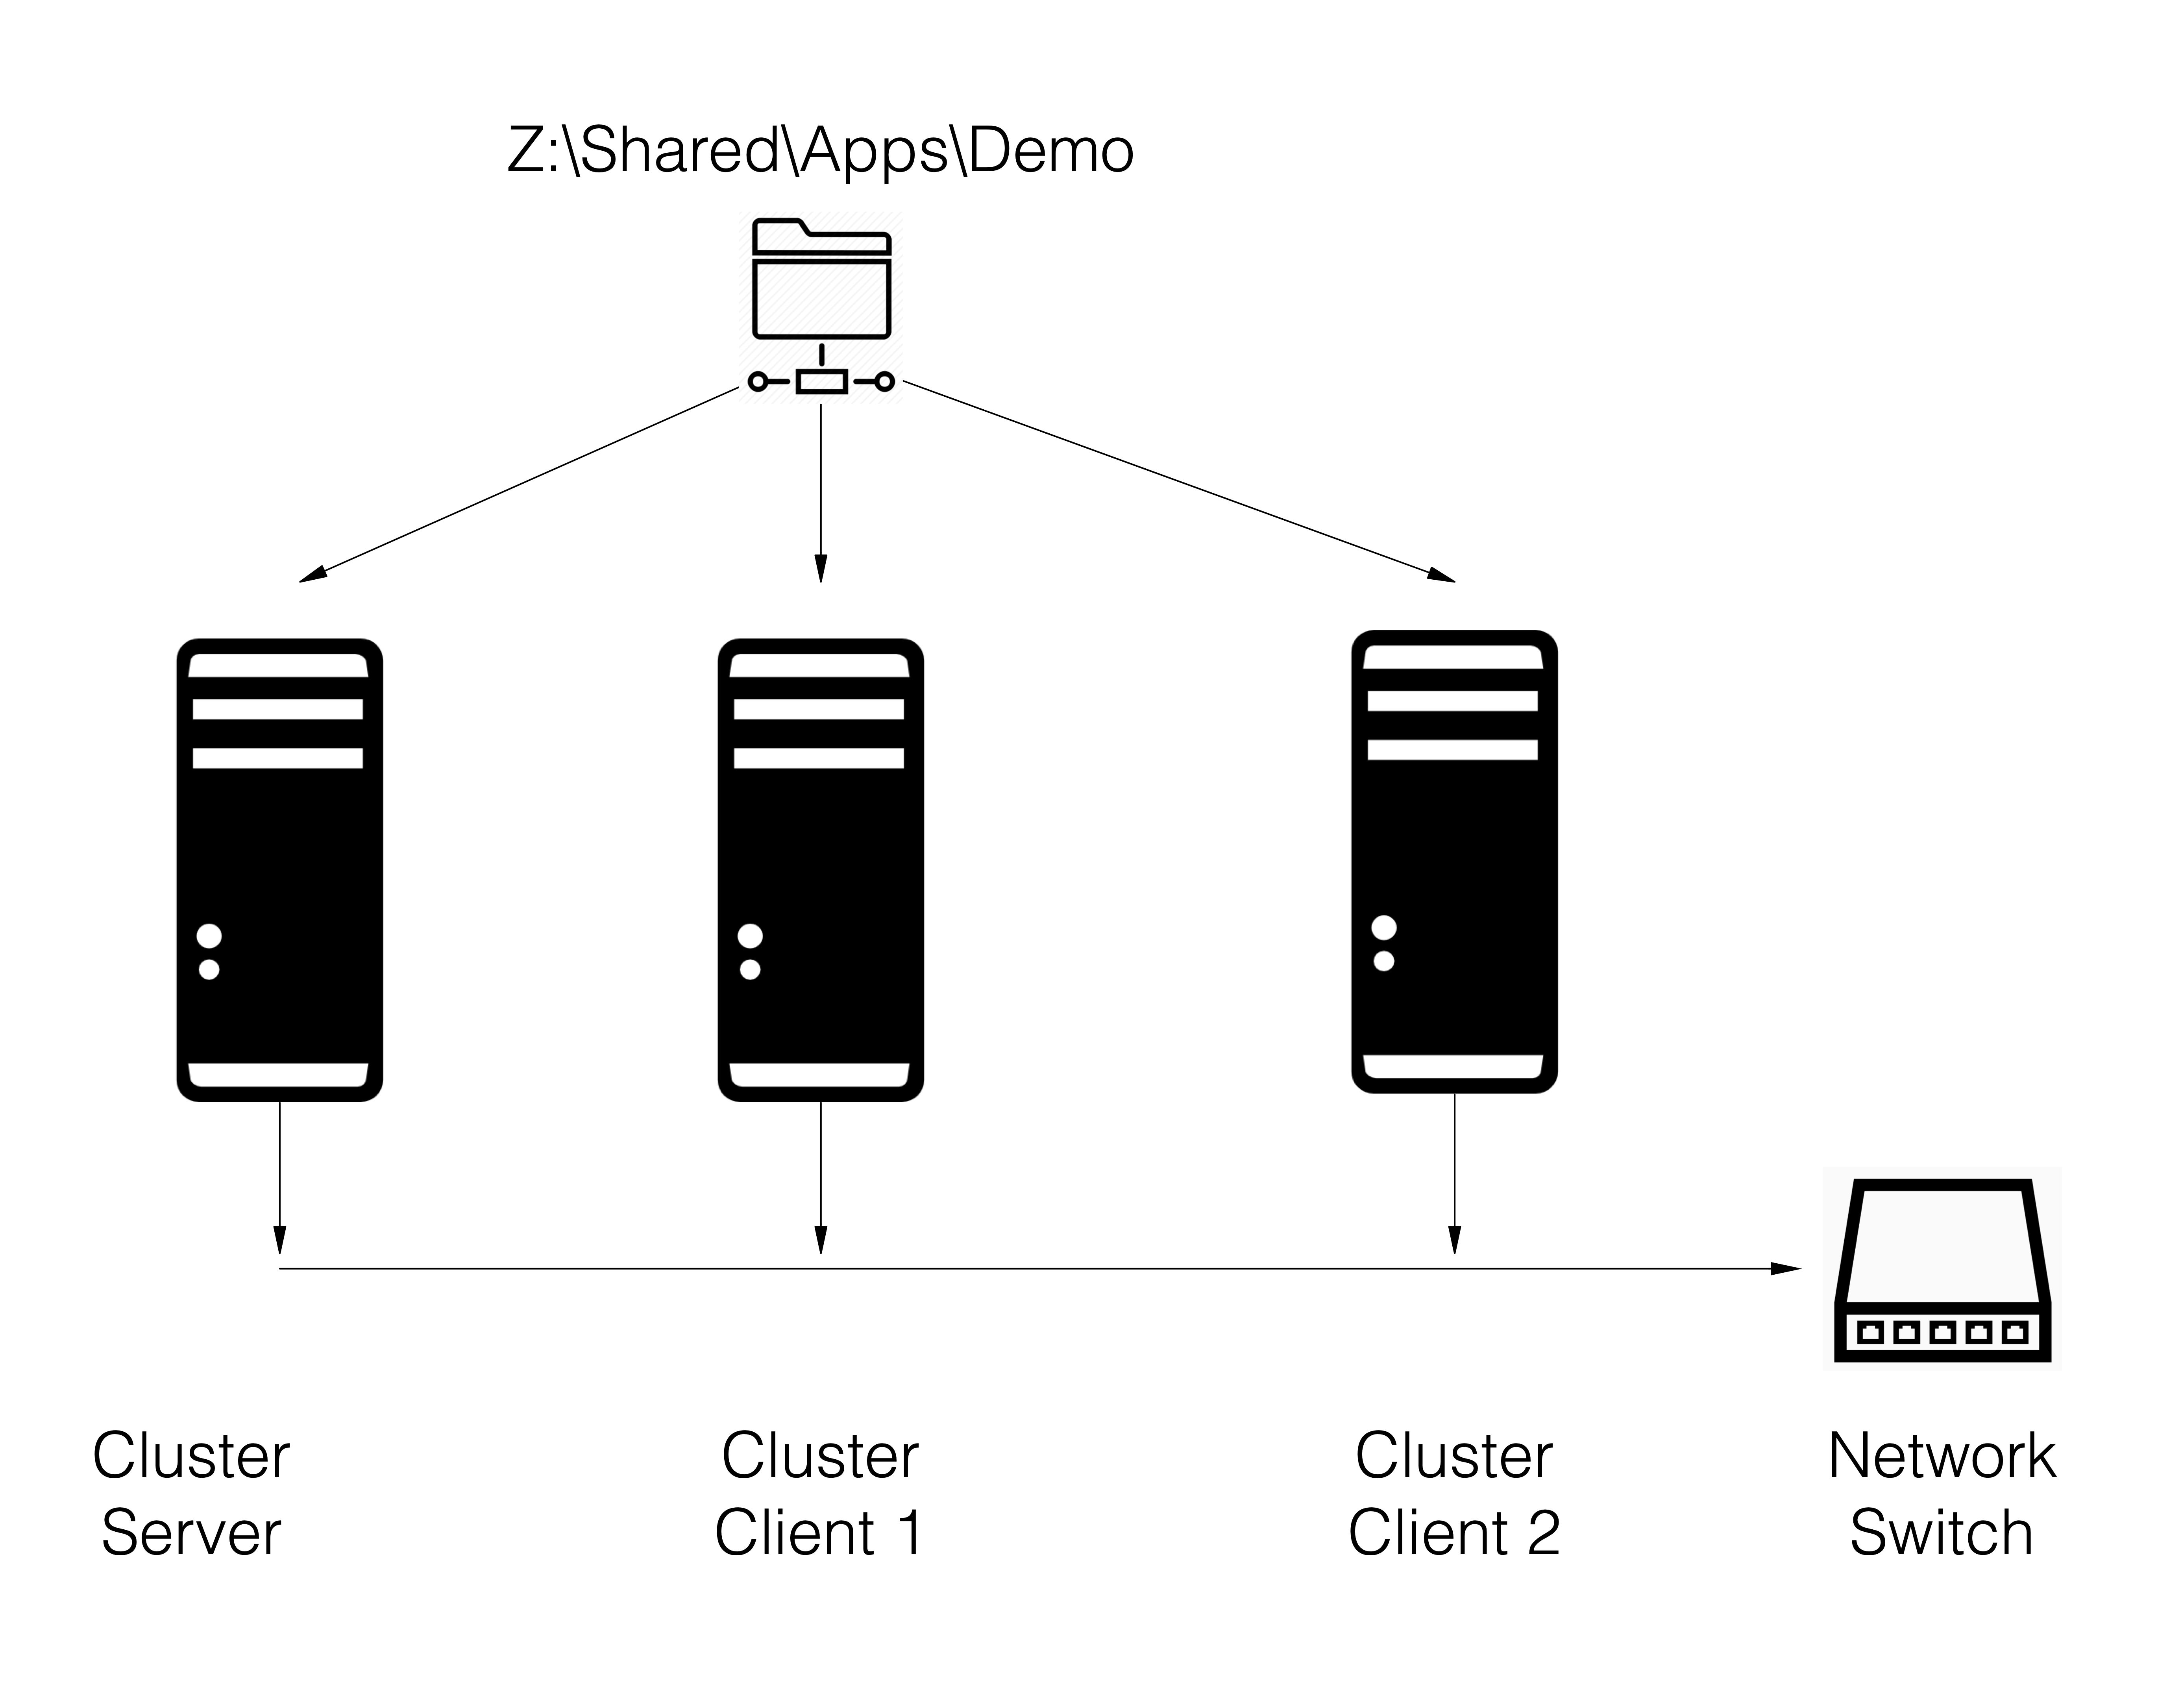
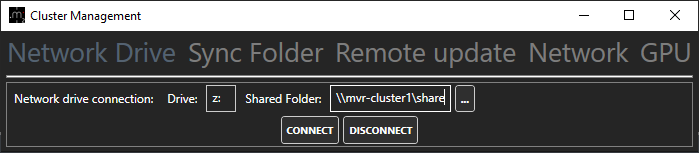
- When the shared folder is created, you have to connect it on every cluster node. You can use the Connect Network Drive feature of MiddleVR config or connect it manually.
Troubleshooting a shared network folder
Frame delay#
If you are experiencing frame delay or latency, make sure to read Frame delay
Stereoscopy#
If you are experiencing any issue with stereoscopy, make sure to read Troubleshooting sterescopy
Windows scale#
Ensure that Windows scale is 100% for each individual display: Windows scale
Prepare the cluster server#
- Make sure the server has the correct license. Only the server requires a license. See Installing a license
Note: Make sure to activate the license on the computer that will be using the license. Any license that is not activated on the right computer will require a new license fee.
- Clients don't need to have any license
Run the test application#
- On the server:
- Copy the Office demo folder from
C:\Program Files\Middlevr3\demo\demo_officeto your shared network folder, for example toZ:\ - Open
MiddleVRConfig.exe - Go to the App panel
- Add the Office demo from "Z:"
- Add the configuration file from "Z:"
- Press Run
- Copy the Office demo folder from
Troubleshooting the cluster setup
Troubleshoot#
The support website has a lot of resources to help you troubleshoot your setup:
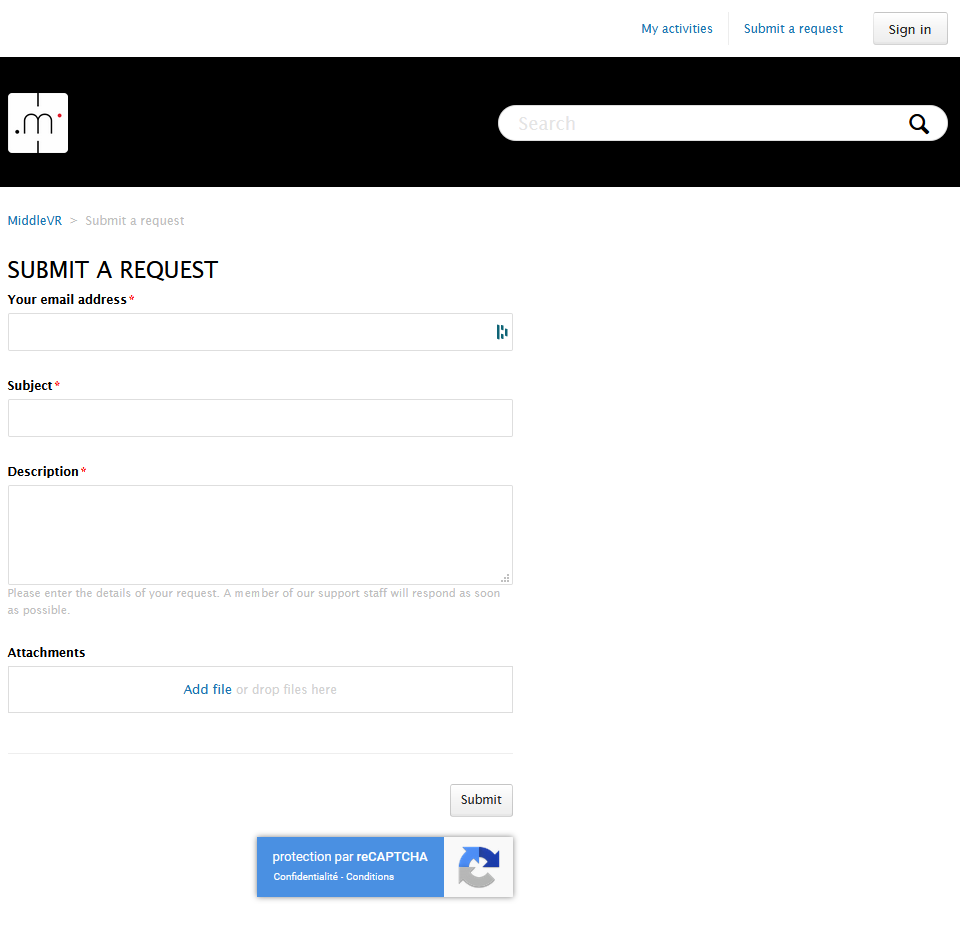
You can also submit a support request:
Advanced#
Local copy#
A local copy of the application on all cluster nodes at the exact same location. The goal is mainly to speed-up the loading process.

MiddleVR config can automatically synchronize a folder by using the Cluster Management - Sync Folder feature:
Creating a shared folder#
Windows 11/10#
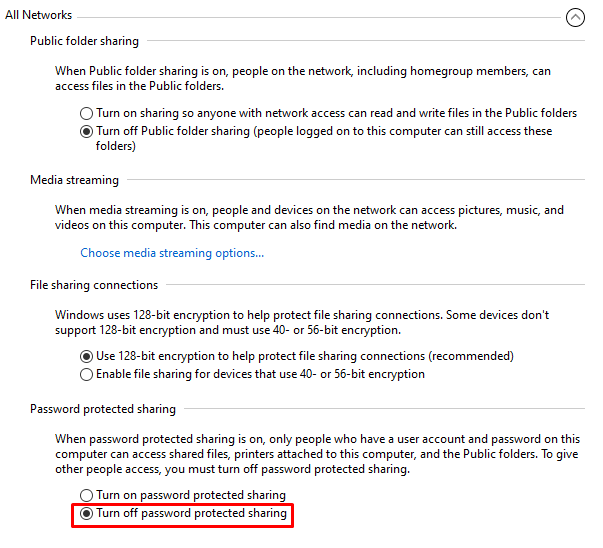
Make sure Windows has file sharing enabled in
Windows Settings > Managed Advanced Sharing Settings

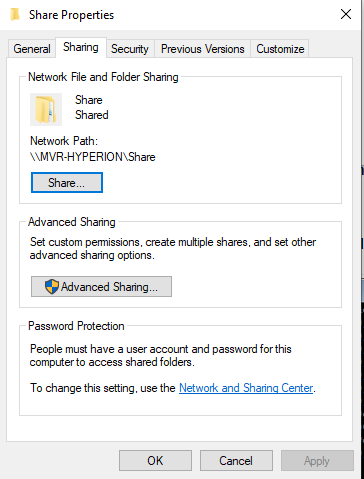
Windows 11: Right-click on your folder, select Show more options > Properties, go in the Sharing tab:
Windows 10: Right-click on your folder, select Properties, go in the Sharing tab:
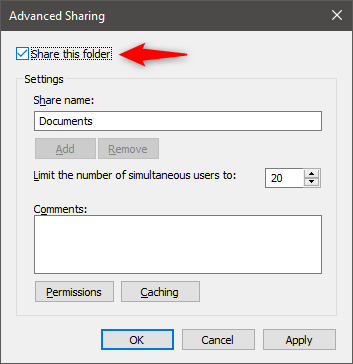
Click on "Advanced Sharing" and enable "Share this folder":
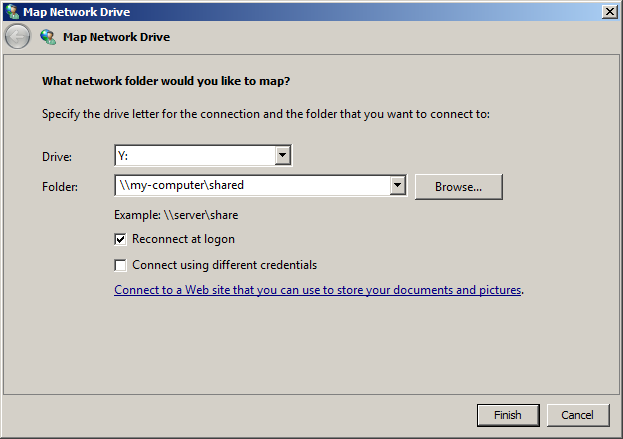
Manually connecting a network drive#
Right click on your computer in the file explorer and selecting "Map a network driver":

Make sure to mount the folder with the same drive on all computers, including the server: