Setup MiddleVR in Unity
Setup MiddleVR in Unity#
In this tutorial you will learn:
- How to add MiddleVR to your Unity project
- How to export your application
- How to run your application through MiddleVR configuration tool.
Requirements#
- A mouse with three buttons
Add MiddleVR to your Unity project#
Import the MiddleVR package#
-
Open the Packet Manager: Click in
Window > Package Manager -
Click on
+and chooseAdd package from disk...

- Locate
C:\Program Files\MiddleVR2\unity_packages\MiddleVR\package.json:

The package will then be imported and you can see that the plugin
is correctly installed if you click in In Project:

Add the VR manager to your scene#
Open the Packages\MiddleVR folder in the Project tab and
drag and drop the MVRManager prefab to the Hierarchy tab of your
project:

Navigate in the scene#
After pressing the Unity play button, you can now navigate in the scene with your mouse:
- Press Shift and the middle mouse button and move forward, then left/right.
- Pressing Shift+Alt will allow you to go up or down and sidestep.
Preview window#
If you enable "Preview Window" and press Play, a new window will popup with exactly the same position/size and capabilities as if you had exported your application. This means you can also use active stereoscopy for example.

Export your application#
In Unity, open the menu File > Build Settings....
Make sure x86_64 is selected. MiddleVR is only compatible with 64-bit builds:

Make sure that the Platform is PC, Mac & Linux Standalone, and
Target Platform is Windows.
Press Build and choose a location for your application.
Run your application#
There are two ways to run your application:
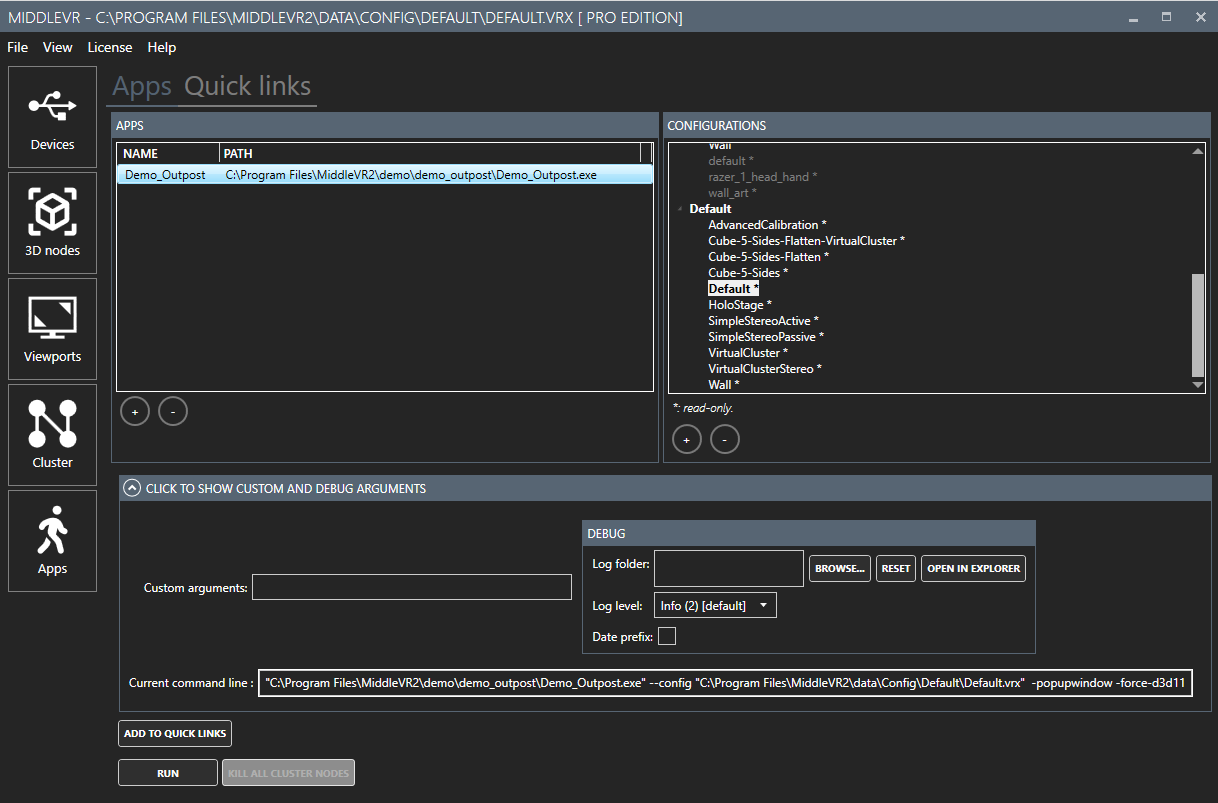
-
Run the
.exefile through MiddleVR configurator as described here: this allows you to select the system configuration you want to use at runtime without modifying the application. -
Manually execute the
.exefile that was created and specify a configuration file on the command line with--config <path_to_vrx>. You can look at the command line that MiddleVR Config generates in the Custom and Debug arguments section.